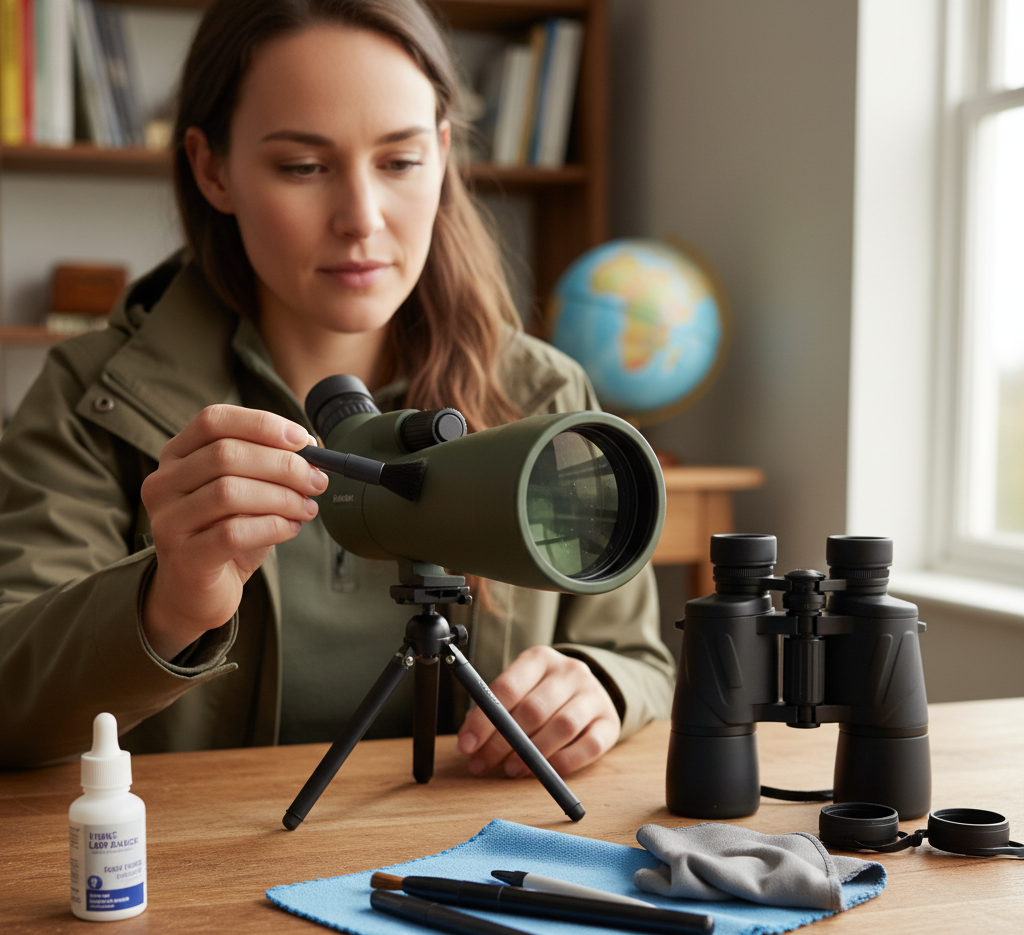
Keeping your optics clean is essential for crisp, clear views—but it’s easier than you might think to overdo it or make common mistakes. Here are the top three cleaning missteps to avoid:
- Cleaning them too often.
- Using your shirt as a lens cleaner (seriously, don’t, it will ruin your shirt and could ruin your glass).
- Forgetting to brush off dust and debris first. Optics, whether binoculars, spotting scopes, or rifle scopes, are built with coatings on their lenses. Excessive cleaning can wear these coatings down, and improper techniques might even cause scratches. The good news? Most of the time, a simple brush-off with a lens pen or cleaning brush is all they need. When it’s time for a deeper clean, follow these steps for spotless lenses and long-lasting performance.
What You’ll Need
- Lens pen or optics cleaning brush
- Lens cleaning solution
- Microfiber cleaning cloth
Step-by-Step Cleaning Guide
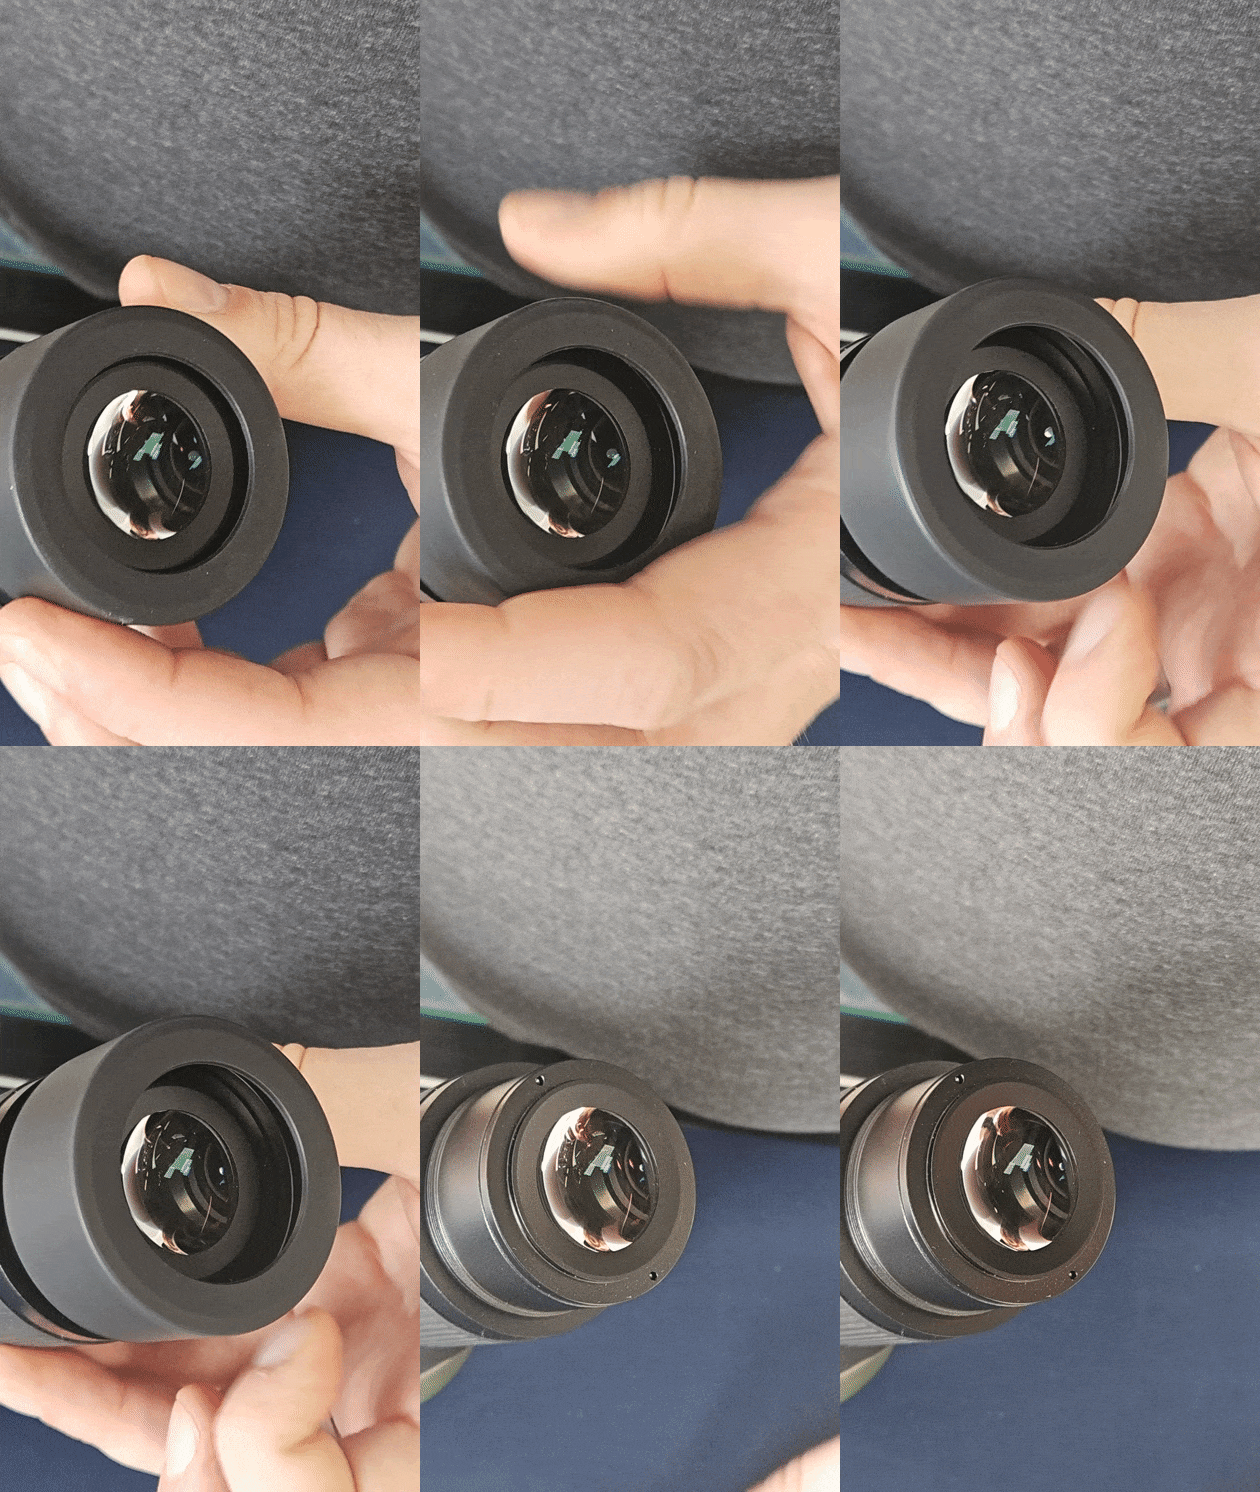
Step 1: Remove Removable Eyecups (If Applicable)
Many optics have removable eyecups, which make cleaning edges easier. Not sure if yours are removable? Check your owner’s manual, contact the manufacturer, or give us a call!
Step 2: Brush Off Debris
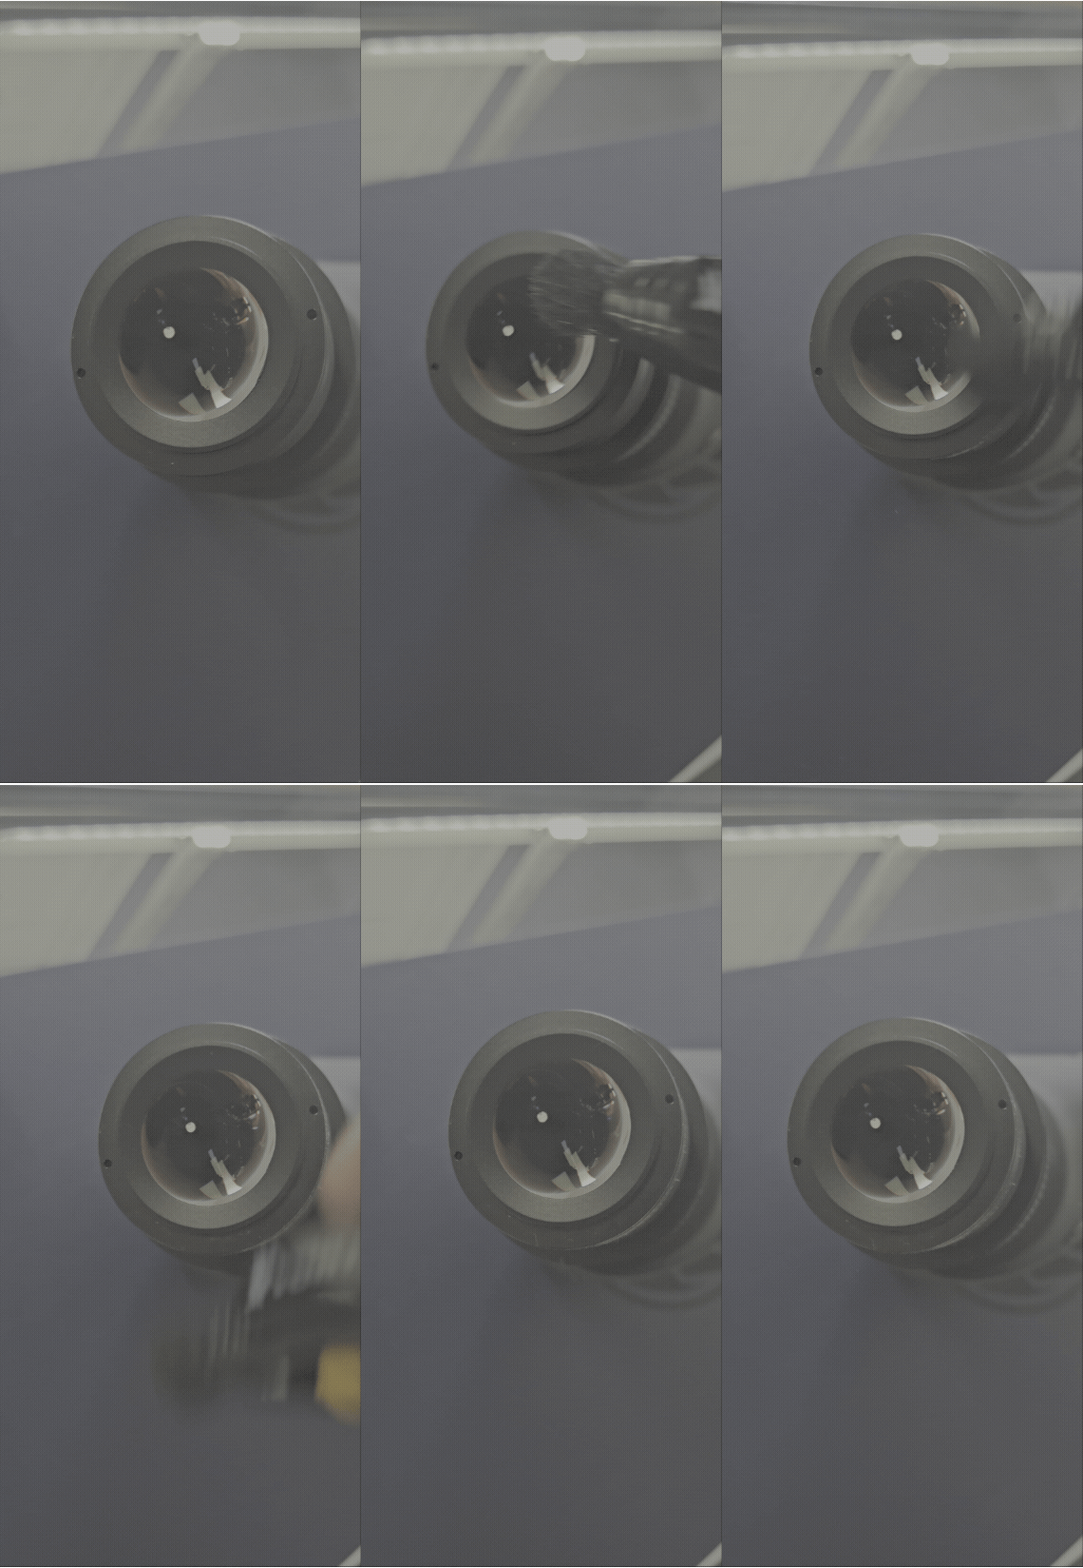
Before applying any cleaner, use a lens pen or soft brush to gently sweep away dust, crumbs, or sand. This step prevents scratches caused by rubbing debris into the lens.
Step 3: Prepare the Microfiber Cloth
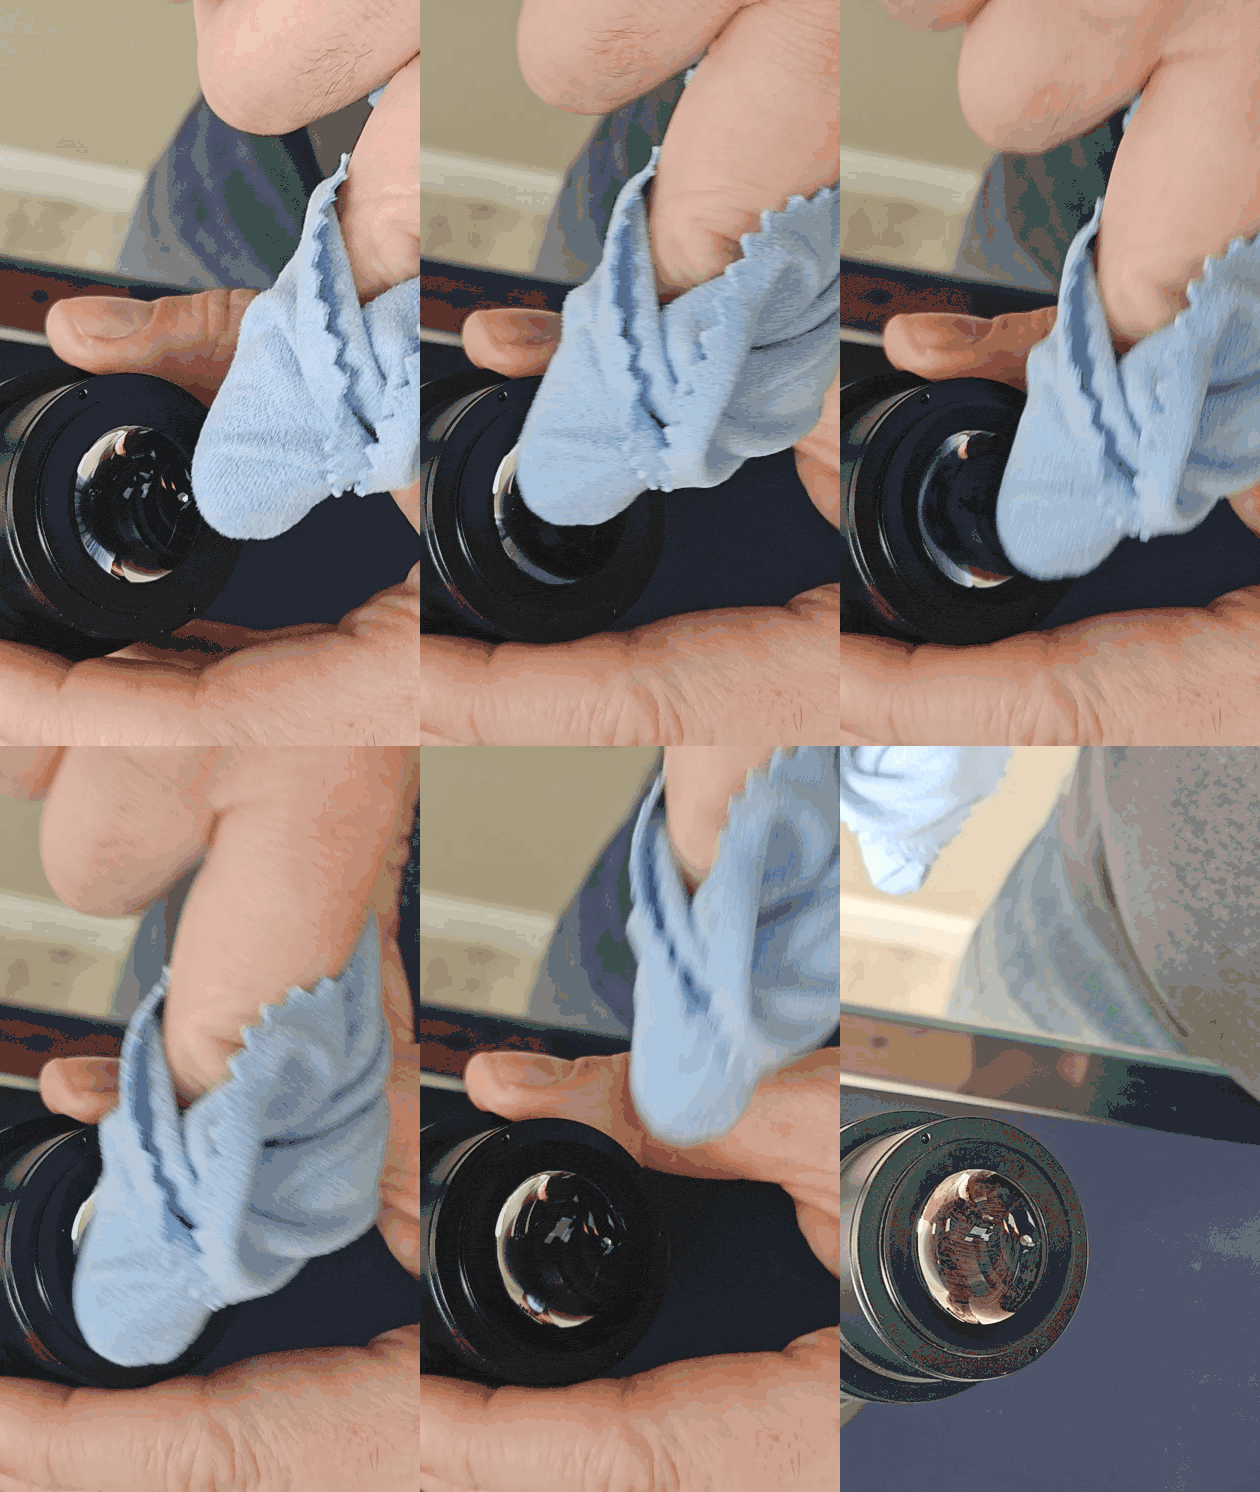
Wrap your microfiber cloth around your index finger for a smooth, flat surface to work with.
Step 4: Apply the Cleaning Solution
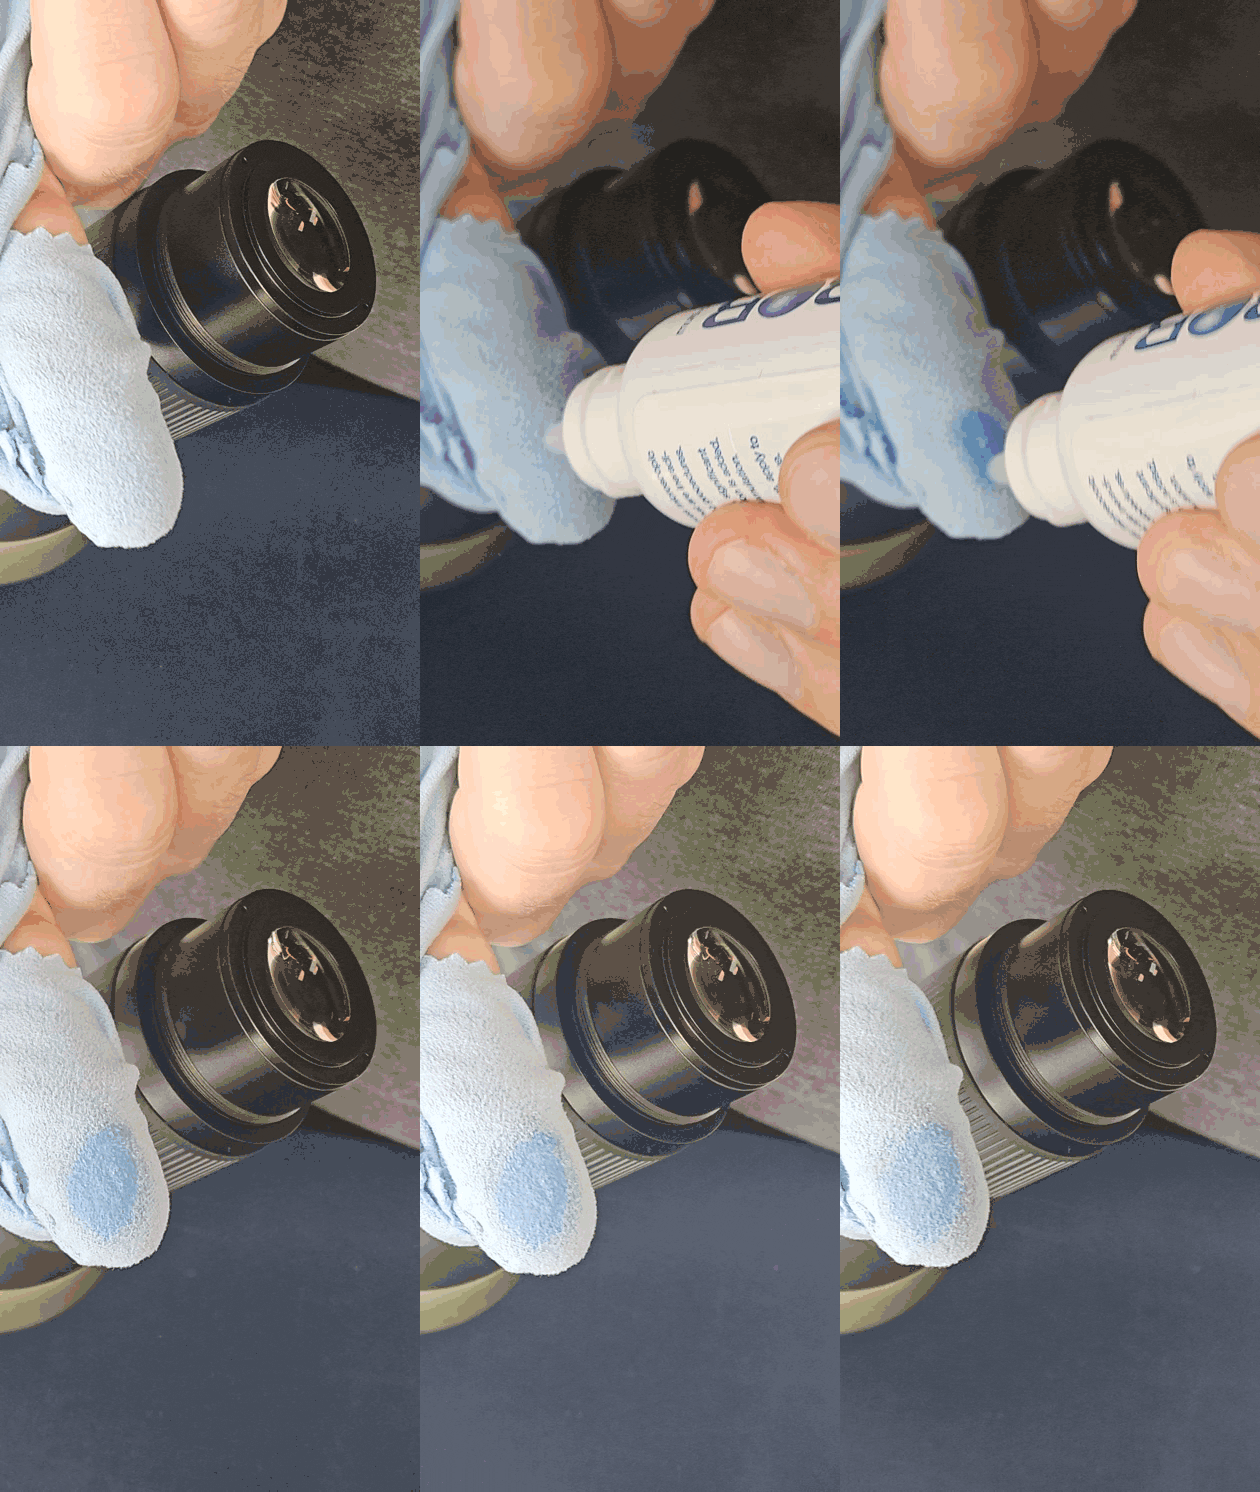
If your cleaning solution comes in a spray bottle, spray lightly into the air above the lens and let the mist settle. If it’s in a dropper bottle, apply a drop or two directly to the lens or the microfiber cloth.
Step 5: Clean the Lenses
Using your cloth, start at the center of the lens and gently wipe in circular motions outward to the edges. This technique pushes any remaining dust to the edges, where it’s less noticeable, and minimizes visible scratches if they occur. Check your cloth frequently—if it gets dirty, switch to a clean area and reapply cleaner as needed.
Step 6: Dry and Polish
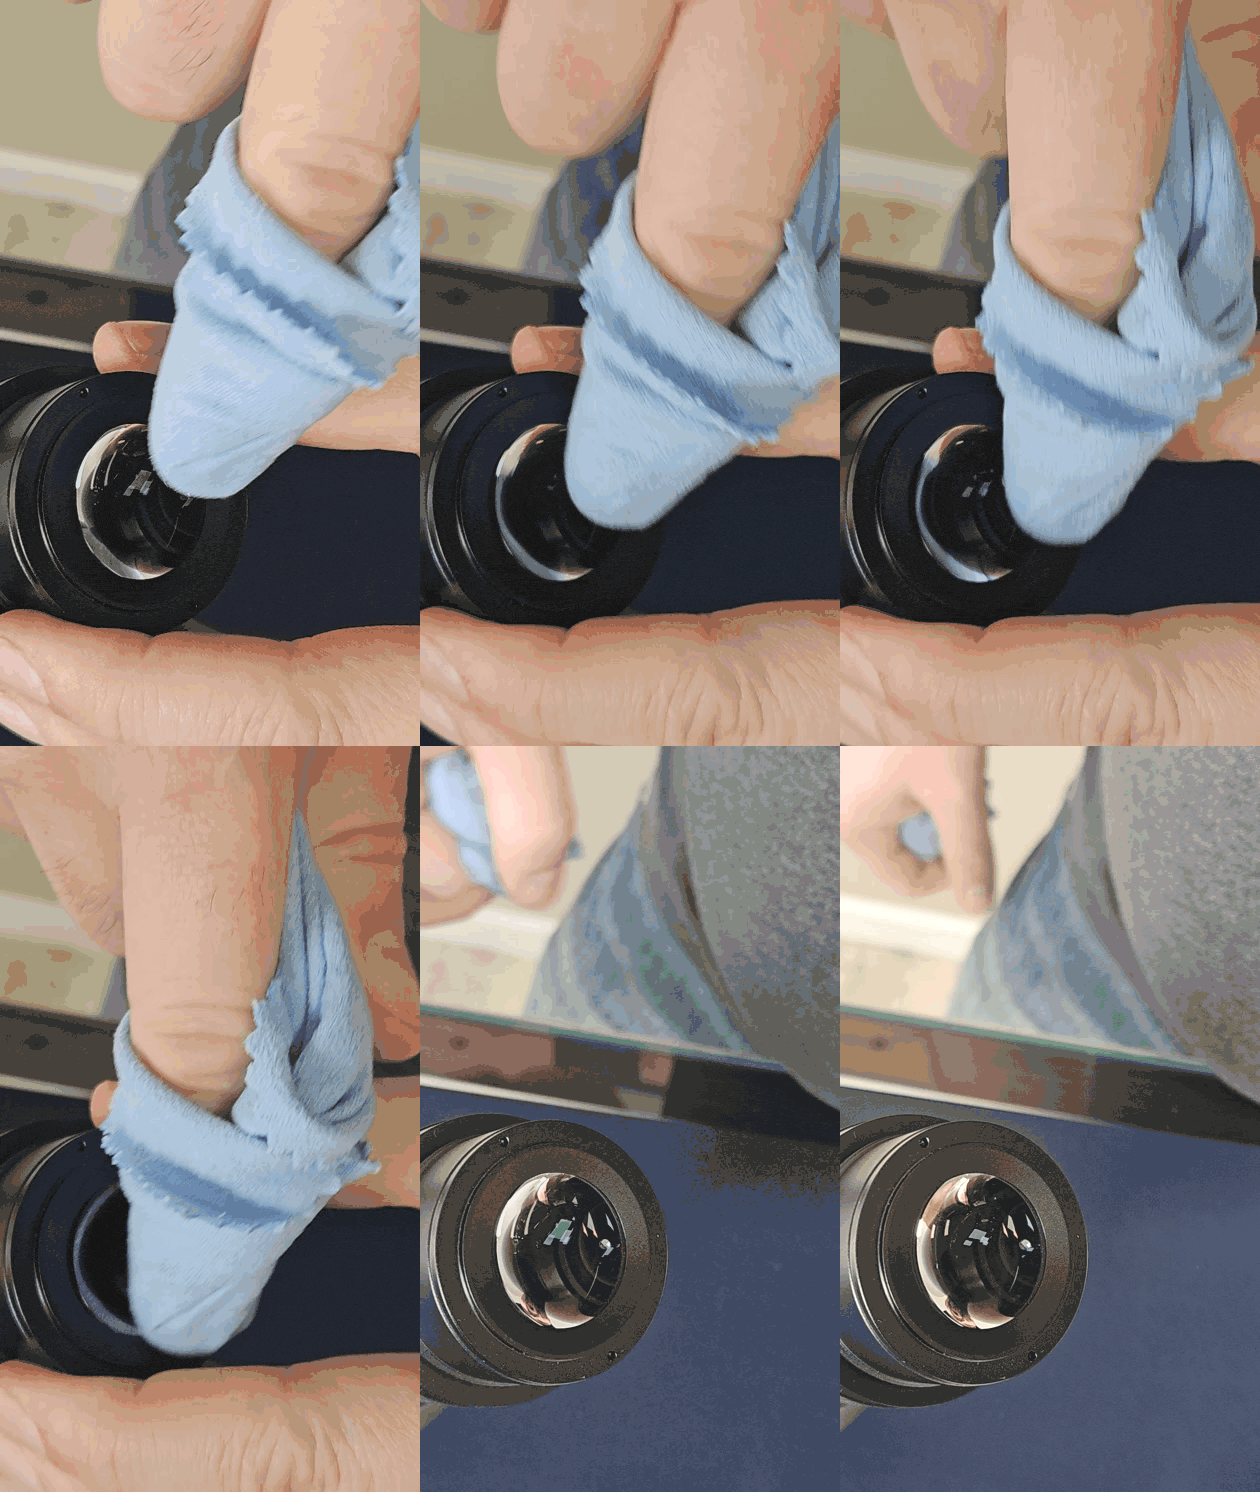
Once the lens is clean, breathe lightly on it (like fogging up a window) and use a dry part of the cloth to polish and dry the surface.
Step 7: Reinstall eyecups
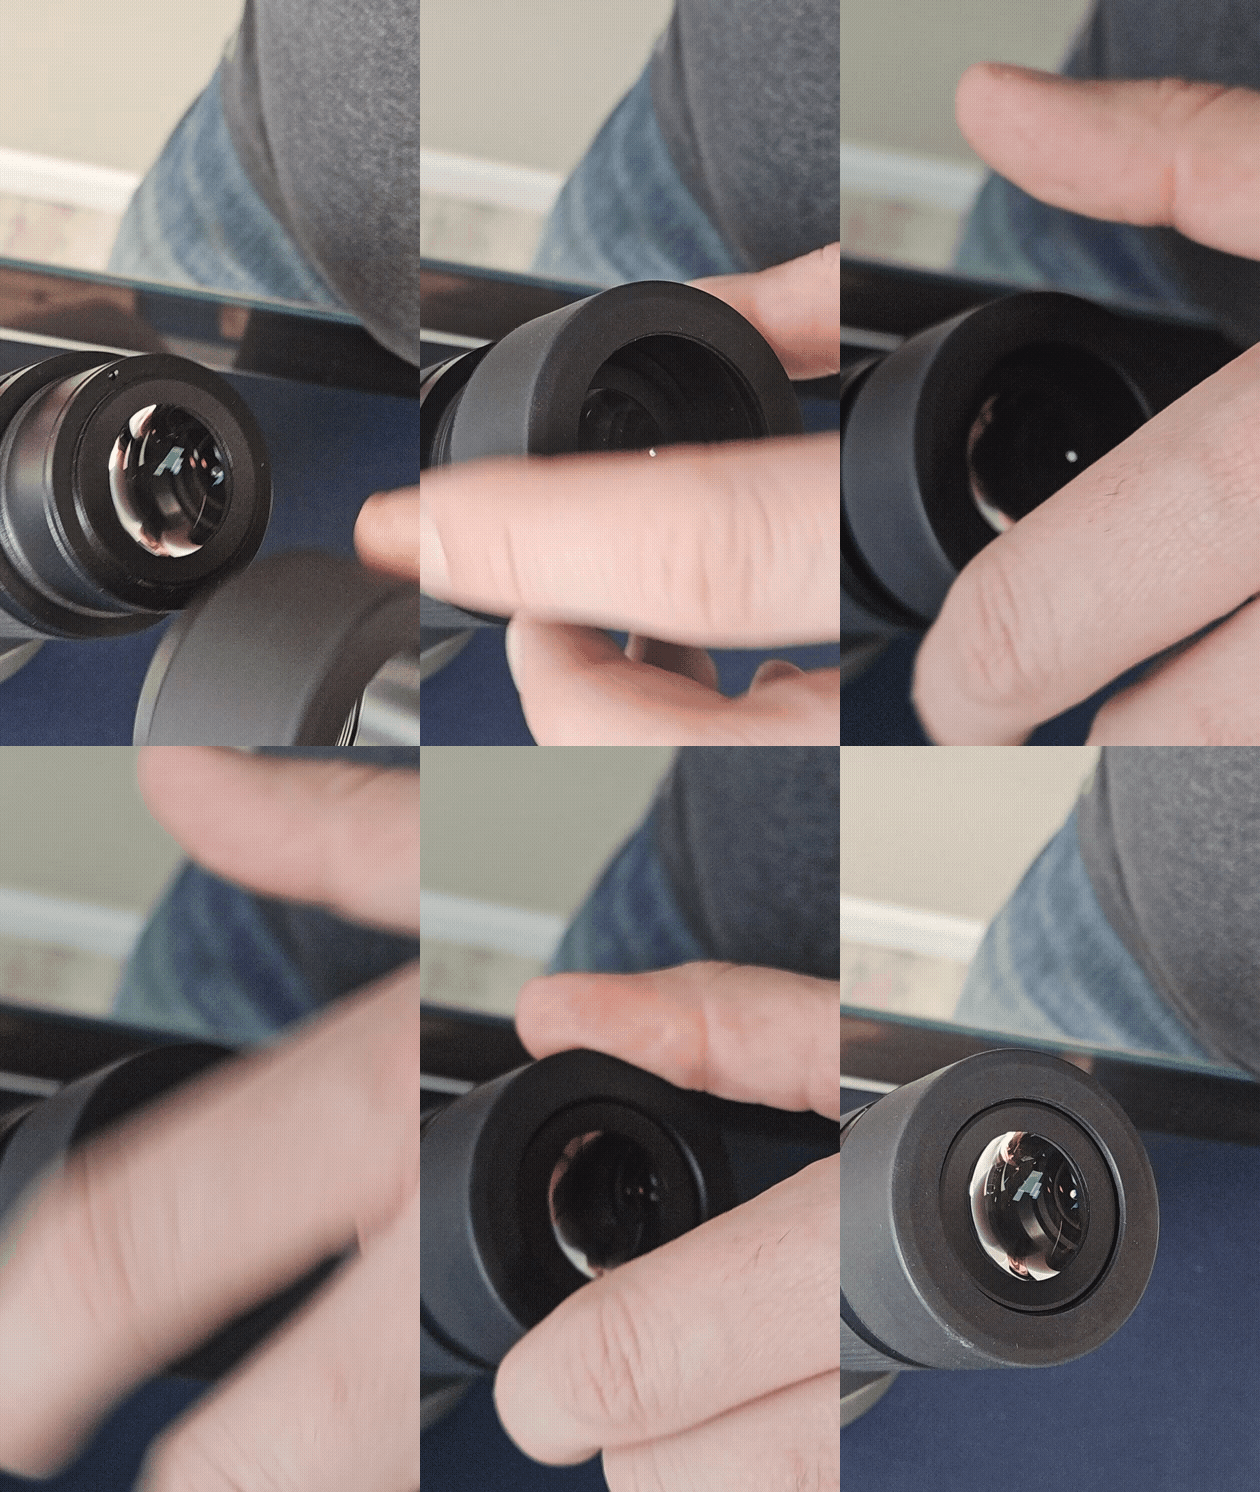
If you have removed your eyecups, now is the time to reinstall them. Thread them back on, twist them to the most retracted position and snug them down.
Additional Tips
- Bug spray, sunscreen, and saltwater are the ultimate enemies of optics. Bug spray and sunscreen can break down rubber components like eyecups and focus wheels. Saltwater can corrode almost every part of your gear. If exposed, rinse thoroughly with fresh water and a pH-neutral soap.
- Many optics are waterproof. If yours get muddy, you can safely rinse them under a faucet—again, if you’re not sure if yours are waterproof, check with the manufacturer, owners manual or give us a call.
- If you have removable eyecups, make sure you snug them down after reinstalling them. If you don’t they will likely start unthreading again when you go to extend them!
That’s all there is to it! By following these steps, your optics will stay crystal clear and ready for your next adventure. Happy glassing!